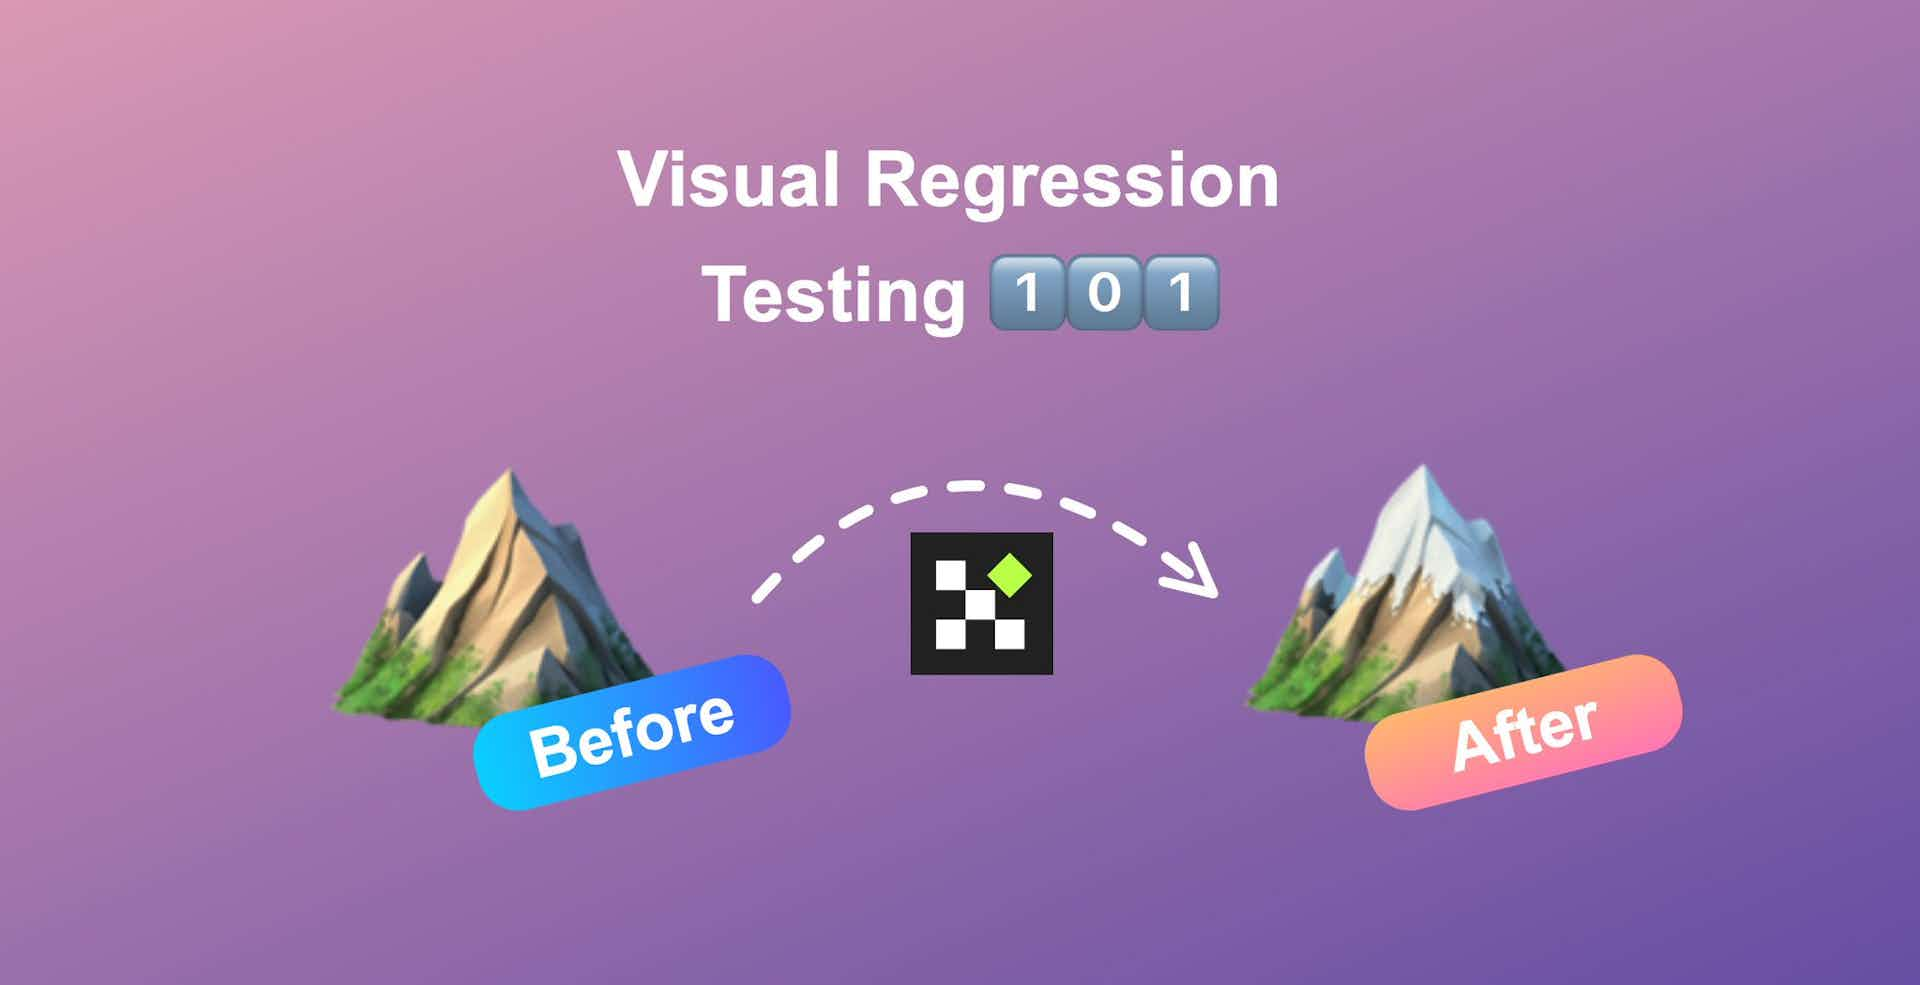
Visual regression testing 101

Hey! My name is Dima, I am from Ukraine and I am keen on building products, designing beautiful UI/UX and testing automation. I am so passionate about visual regression tests that I've built an open-source tool called Lost Pixel and guess what? It is a holistic visual regression testing framework!
I am excited to give you an introduction to the world of visual tests and walk you through the use cases in which they are most beneficial for your design & development flow. All of the below information is from years of me working with Visual Regression Tests digested into a short read.
What 🖼️
Visual regression testing (a.k.a vis reg tests, visual tests, UI snapshot tests, visual diff tests) is an approach to automated QA. In this approach, we try to capture unintended changes to UI resulting from code modification. Visual tests can be applied across the whole frontend hierarchy starting from the atomic component, continuing with UI patterns utilising the components and ending with a page accommodating multiple UI patterns to present the user with a finished frontend.
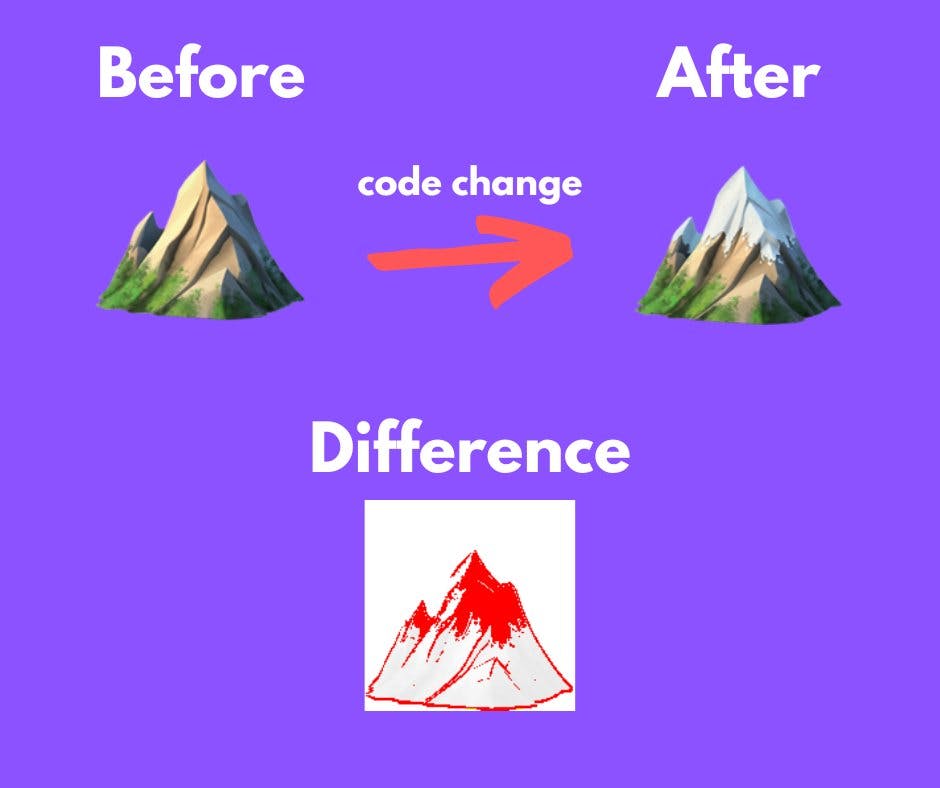
The visual regression test consists of three essential moving parts:
- Screenshot of the element we want to test before the code change (a.k.a baseline, intended version)
- Screenshot of the same element after the code change (a.k.a compared image)
- Generated difference image in case the change in source code resulted in a different image(automatically generated by comparison engines like pixel-match or odiff)
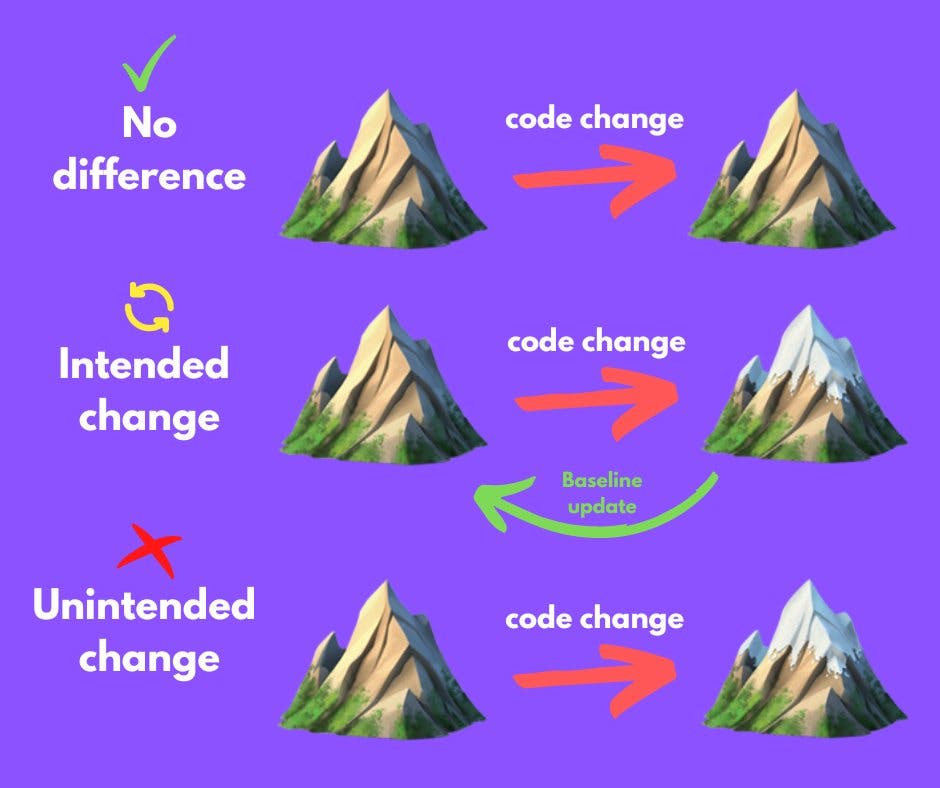
There are three possible outcome scenarios when doing a visual regression test:
- No difference - tests pass as expected
- Intended difference - test fails but the change is expected. In this case we need to update the baseline in our testing suite which will result in a no-difference run after we re-trigger the test run.
- Unintended difference - test fails and change is unexpected. That's the reason we are doing visual tests in the first place - to easily catch such outcomes.
We have successfully covered the process of visual regression testing and now are ready to look into the most frequent use cases.
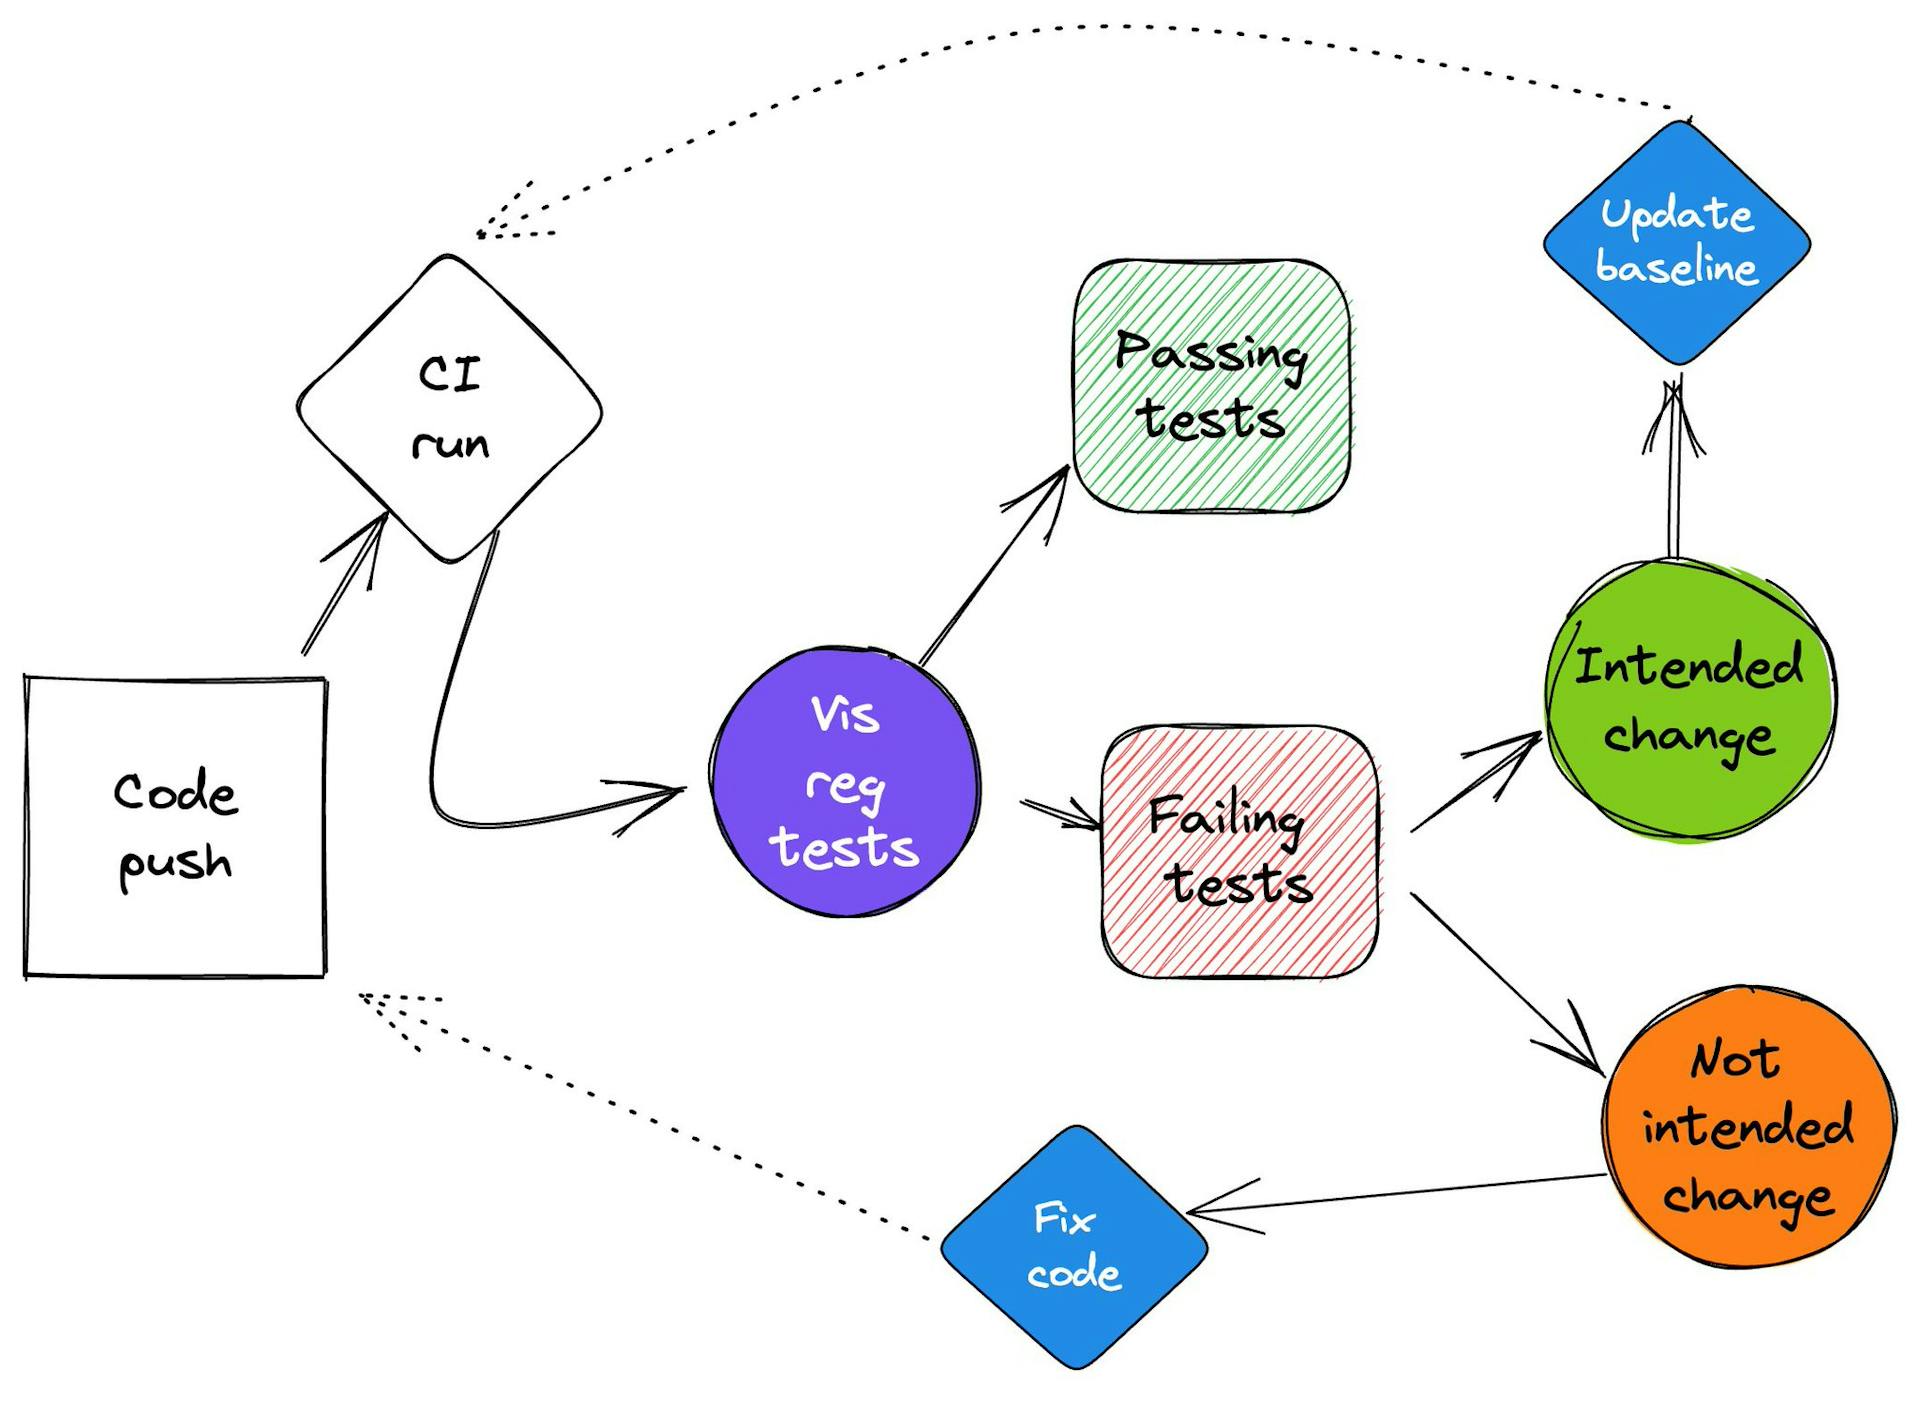
How 🔀
If we talk tool-agnostic this is how Visual Regression Testing workflow looks on the CI/CD pipeline.
Use cases 🤔
Visual regression tests stand in between unit and integration tests on the testing trophy and are mostly used in the following products:
- Design systems
- Component libraries
- Application interfaces
- Marketing & documentation pages
There are two main applications utilised in companies of different sizes and spheres. Catching visual bugs & cross-functional teams collaboration.
Catching visual Bugs 🪲
You might already have some e2e tests in your application done with Cypress or Playwright but in most cases, they are not enough. Focusing purely on functional testing we always forget that sometimes totally functional elements of UI can look totally broken visually. Thus most frequent use case is to catch Visual Bugs with the ultimate goal being shipping code more confidently
Case studies 🔍
- Engineer is making amendments to the signature of the
<Box/>component which is the primitive utilised in 100s of other design system components. By sheer number, it's hard to verify manually that none of the dependent components broke visually.
❌ Problem: The dependent components were too tightly coupled to <Box/> component and the changes rendered <Datepicker/> and <FormControl/> look totally broken for the end users.
✅ Solution: Visual tests picked the problem, automatically reported it and gave a bird-eye overview of places where it happens.
- Product designer gives the engineer the high fidelity prototype in which an already existing component is slightly modified to accommodate to new design vision. The changes are looking good and the engineer ships the ticket.
❌ Problem: Engineer misses a couple of usages of the modified component where it's used in the non-traditional layout with end users experiencing UI which looks broken
✅ Solution: Visual tests identified layout shifts, automatically reported it and gave a common ground for the product designer and engineer to solve the problem.
In both cases, Visual Regression Testing would be an automated way of making sure that change in one place would not cascade with visual bugs into other places.
Collaborating in cross-functional teams 🤝🏼
With the usage of Visual Regression Tests, you start getting another tangible benefit which stems from the fact that you always have a snapshot of the item that you are testing. This opens multiple opportunities to collaborate:
- Frontend Engineers can between themselves verify the correctness of the final result of their work
- Engineers and Designers can sync in a way faster manner on the iterations done on the UI using the snapshots as common ground for discussion
Case study 🔍
- Engineer is working on the UX improvement of CTA-button prepared by the product designer. The Design System with high fidelity prototypes is a little bit out of date from the platform
❌ Problem: It's hard for an engineer to manually QA all the occurrences of the CTA button and even if possible would take lots of engineering hours. Happened that one of the missed cases is CTA button is used within different contexts making its label confusing for the users. Without common ground, the communication between the two becomes a constant back and forth of sending screenshots of UI from one to another
✅ Solution: With help of Visual tests as the shared communication medium the scope of the problem is isolated giving a clear path for both collaborators to continue. The discussion happens by attaching concrete results of Visual Regression Tests.