Element Tree
This is the place where you manage and rearrange the elements of your Snap
On the left toolbar of the editor, you can find the Element Tree. It gives you an overview of the elements in the current snap. You're able to rearrange the elements, group them and have several other options via the context menu.

Let's have a look at the different possibilities.
Group Elements
After selecting one or more elements, you're able to group them by opening the context menu and clicking on "Group selection". This will create a new group element, which contains all the selected elements.
Hint: Groups can be nested maximum 5 levels deep.
Video showing how to group selected elements
Grouped elements act like a single element on the canvas. You can move them around and they'll stick together, which can be pretty handy when you want to group several design elements together. On the canvas, you can also double-click on a group to select underlying child elements.
After selecting a group on the Element Tree, you can also ungroup the elements by opening the context menu and clicking on "Ungroup selection".
Shortcuts
- Group selected elements
- Ungroup selected elements
Rearrange Elements
You can rearrange elements in the tree via drag and drop. While dragging you'll see an indicator where the new position of the element will be (you can also move the element inside a group). You can also rearrange multiple elements at once.
The order of the elements in the Element Tree also specifies the z-index of the elements on the Canvas (the first element in the three will be rendered on top of the others).
Video showing how to rearrange elements
Lock & Hide Elements
Another handy feature is to lock & hide elements on the Element Tree.
Hidden Elements won't be visible on the canvas, but they will still be part of the snap. This can be useful if you want to keep elements in your snap as work in progress, but don't want to see them on the canvas.
Locked Elements can't be selected on the canvas. This will prevent you from accidentally moving or editing those elements which can be useful when you have some fixed design elements which shouldn't be changed.
Video showing how to lock and hide elements
You can lock or hide elements by clicking on the corresponding icons on the Element Tree. You can also apply it to multiple elements at once by selecting them and lock or hide them via the context menu. When you lock or hide a group it will also apply to all of its children.
Rename Elements
Having a lot of elements in your tree and losing track of them because they're all named the same?
No problem, you can rename elements by double-clicking on their name and editing it. Press Enter to save the new name.
Video showing how to rename elements
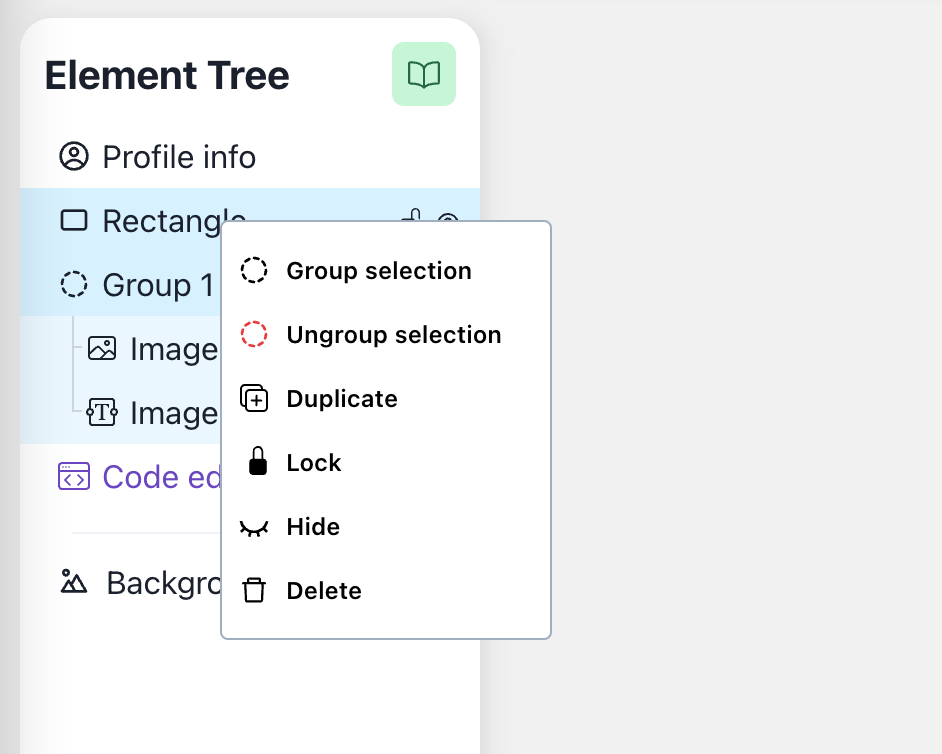
Context Menu
The context menu comes in handy when you like to perform actions on several selected elements at once. You can open it by right-clicking on a selected element in the Element Tree.
It also offers additional functionalities like Duplicating or Deleting elements.
Shortcuts
- Duplicate selected elements
- Delete selected elements
Previous Article
Next Article