Arrow element
Get to know the arrow element in detail.
The arrow element helps you to point out things in your snap or to indicate a connection between two elements. It is also commonly used in flowcharts, mind maps, and other types of diagrams to show the sequence of steps or the flow of information.
Drawing a new arrow
If you want to add a new arrow element to your snap, simply click on the arrow button on the top toolbar of the editor. You can immediately start drawing on the canvas.
Video showing how to draw a new arrow element
If you want to attach the arrow to an element, just drag it over the desired element as seen in the video above. More about attaching arrows in the section below.
Add more points
You can add as many points as you like to an arrow by dragging the green points between two existing points. Afterwards you can decide if the arrow should be curved or straight between those points.
Video showing how to add new points to an existing arrow
Remove points
You can hover over existing points on an arrow and press while clicking to remove them. You can also right-click on a point and use the context-menu to remove it.
Video showing how to remove points from an arrow
Attaching to other elements
To attach the arrow element to other elements, you can simply drag either the start or the end point of an arrow onto the desired element. You'll see a green rectangle around the element to guide you.
Once an arrow is attached to an element, it will follow its position when the element is being moved.
To remove the attachment, simply drag the point somewhere else on the canvas.
Note: The arrow will automatically be unattached from elements when you move the arrow as a whole.
Smart positioning
For each end of an arrow, there's a setting called "smart positioning".
When activated, the arrow will point to the nearest side of the boundary rectangle of the element it is attached to. When disabled, it will just point to the exact position where you've dragged it, but still be attached to the element.
Check out the video below to see the different behaviors:
Video showing how smart positioning works
The setting can be toggled on the right toolbar in the Start and End Mark sections.
When attaching an arrow to a code editor, the smart positioning toggle will automatically be turned off, assuming you want to point to a specific line in your code. You can turn it on in the right toolbar.
Right toolbar
Let's have a look at the right toolbar and what you can configure there.
Type
As shown in the video above, you can toggle if the line of an arrow should be Curved or Straight.
Style
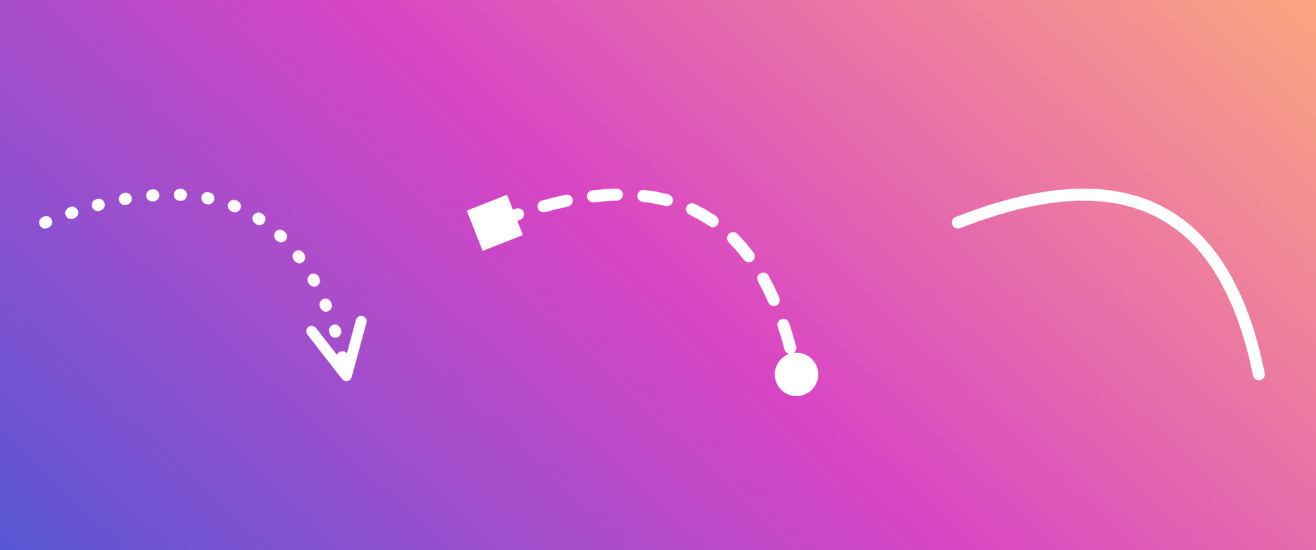
You can choose one of three different styles for an arrow: solid, dashed or dotted lines.
Start & End Marker
The "Start & End Marker" sections allow you to customize the appearance of the arrowhead.
Color
Of course, you're also able to specify the desired color of your arrow.
Stroke Width
Do you want an arrow to appear bigger or smaller? Adjust its thickness with the Stroke Width property.
Advanced Styles
The arrow element supports the following advanced styles:
- Opacity
- Blur
- Grayscale
- Sepia
- Hue rotation
Animation options
You're also able to animate the arrow element in snappify Slides. For example you can choose that the arrow should be drawn when it enters or exits a slide.
Checkout the different Animation options available.
Previous Article
Next Article